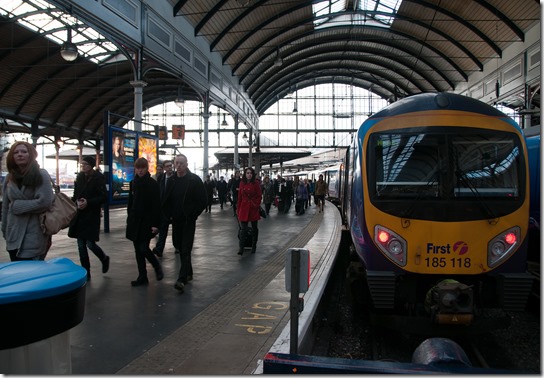
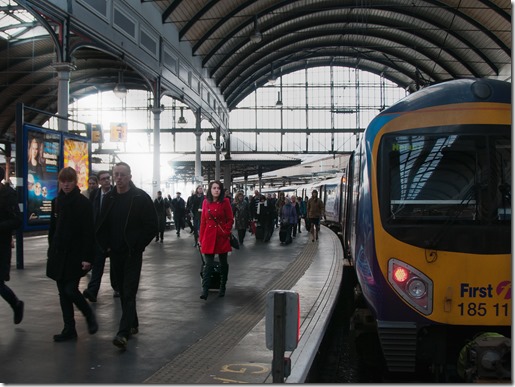
Starting with an image taken in Newcastle Railway station for Assignment 3 I wanted to bring out the lady in red walking down the platform. The image was captured with one stop underexposure to freeze the movement of the arriving passengers and to reduce the highlight clipping from the sky. This is the original image:
In Photoshop I duplicated the layer and on the top layer I selected the lady in the red coat, before using a selective colour adjustment layer to increase the cyan and darken the red.
I then deselected the lady and applied Nik Viveza 2 filter to increase the saturation and structure of the new layer, thereby giving the resultant image more clarity, contrast and vibrance.
Having made these changes I then used a layer mask to take the lady in red back to the darkened layer below. The lady now blends in with the rest of the crowd:
Taking the original image into Photoshop again I treated it with Nik Viveza 2 to increase the structure and saturation of the whole image. With this top layer selected I used Alt > create layer mask, to create a black mask to hide the layer and painted the lady back in using a white brush.
I then selected the original layer and applied a curves adjustment layer to flatten and darken the original, leaving the lady to stand out from the crowd.
To enhance the effect further I duplicated the top layer with its layer mask and used ‘screen’ blending mode at 65% opacity to give the lady more brightness and vibrance. The lady now stands out from the crowd:
I know I’ve been a little extreme with the treatment here, but it’s really to emphasize what can be done. In some situations this may be an acceptable level of alteration.
Taking it a little further, I’ve created a beam of sunlight to make the brightness of the lady a little more acceptable:
This was done by selecting the area to be lightened with the polygonal lasso tool, using a large feather (40 pixels) then increasing the exposure in the selected area. Some areas of the selection were returned to normal using a layer mask.
Further adjustments were made by simple cropping:
As I said earlier, it’s a matter of how far you want to go. I think this is far enough for this application.


No comments:
Post a Comment